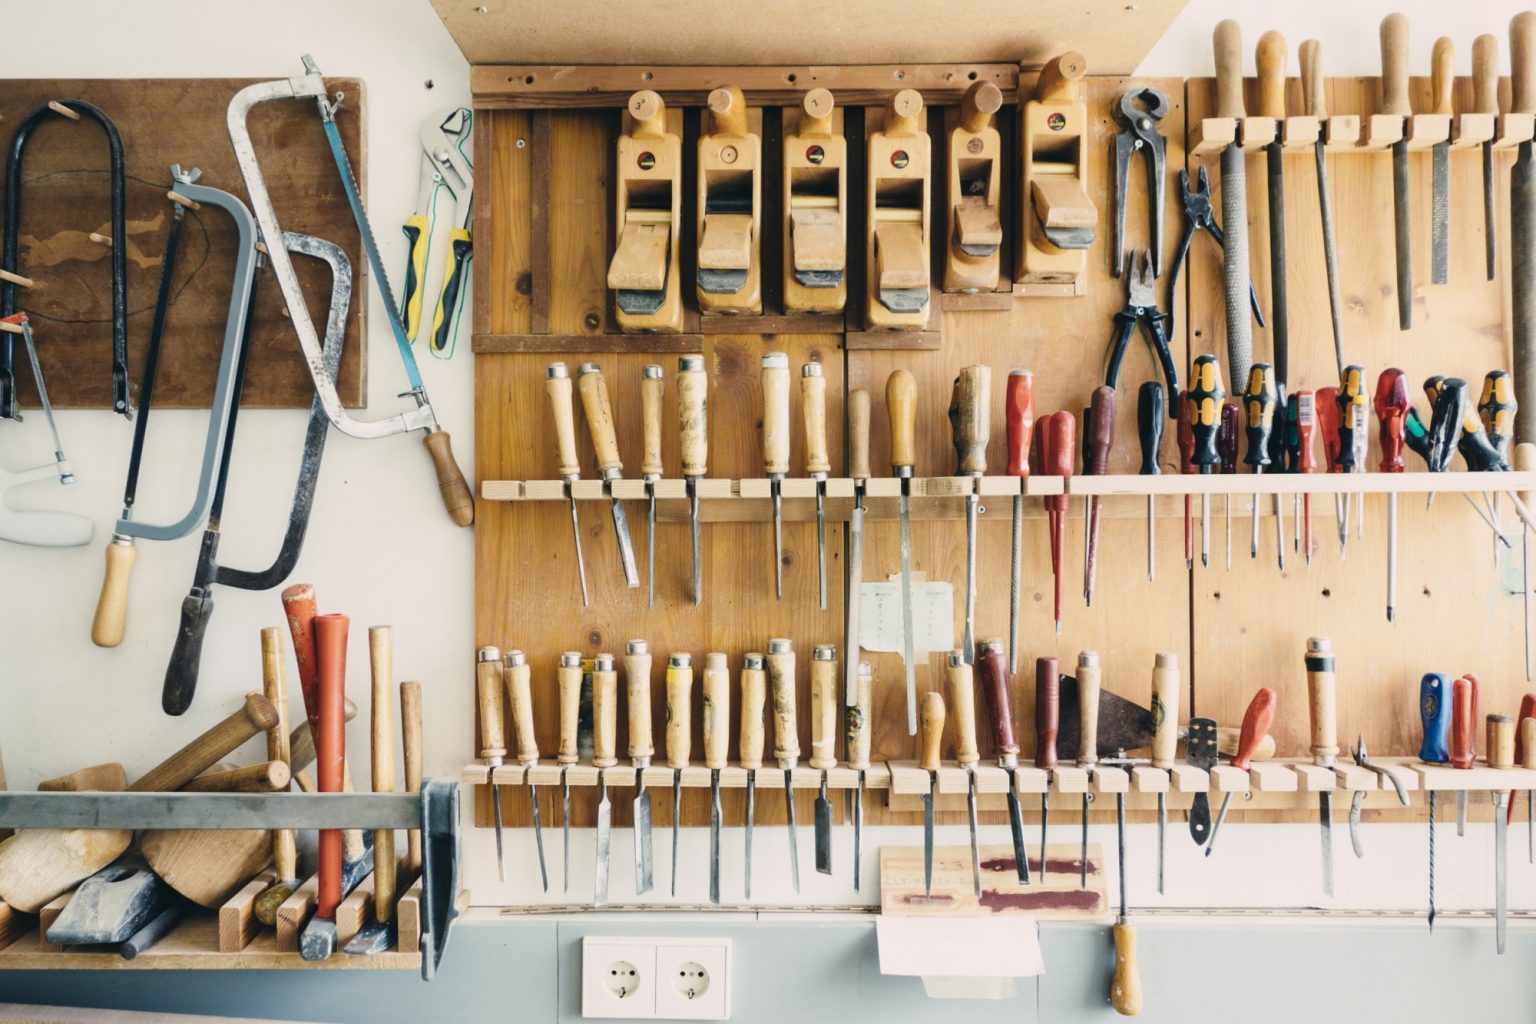
Studies show that clutter, particularly in areas where we work or relax, may impede our brain’s ability to focus, causing a rise in cortisol levels and leading to stress.
Small spaces, like sheds, can quickly appear cramped and even become a safety risk when they’re filled with a disorganized array of tools and implements.
So, if you experience unsettling emotions every time you walk into your outdoor shed, it’s time to get organized. Check out these shed organization tips that will make you the envy of the neighborhood.
1. Tool Storage Tips
Every type of shed ends up becoming a tool shed of sorts. After all, who wants all those bits and bobs hanging around the inside of their house.
These are the best ways to organize tools, so you can identify them at a glance and have them close to hand, without them getting in the way:
A Magnetic Tool Bar
A magnetic bar attached to one of your shed walls is ideal for storing metallic tools and garden implements. Make sure you get one that’s strong enough to keep your tools attached firmly to the wall.
A Pegboard
Pegboards are good for more than displaying random photos, mood boards, and notes. They’re ideal storage systems since you can customize the arrangement of pegs to suit almost any kind of tool according to your needs.
Repurpose a Pallet
An old pallet works perfectly if you don’t have a pegboard. Instead of pegs, you can hammer nails into the wood to create a customized design for your most-often-used tools.
2. Shelving 101
Whether you’re organizing a vehicle shed, your garage, or a small garden shed, it pays to make room for some open shelves. Both fixed shelving and stand-alone shelves work well as a starting point for getting organized.
You can use them for large and small items, and they help keep things off the floor and in plain sight. You can use the shelves as-is, or place clearly marked colored plastic boxes on each shelf.
3. Containing Nuts and Bolts
Stray fasteners can wreak havoc with your storage space. They’re always popping up in inopportune places, but you can somehow never find one when you need it.
Our best tip for storing fasteners is with recycled plastic containers. You simply remove the plastic lid of the jar, screw it into an overhead shelf, fill the container with your fasteners, and then screw the jar back into its lid.
The trick with this type of storage is to collect jars and containers of the same size to create a neat, uniform appearance, and make the best use of otherwise empty spaces.
You can also buy a roll-out cart with numerous drawers to contain all your fasteners and a top surface that doubles as a workspace.
4. Take Your Implements in Hand
Garden tools and implements can truly challenge your yard organization skills.
Their awkward shapes and large size means you can’t easily prop them up against a handy wall, despite your best intentions. So, they’re always left dangling in some kind of no man’s land between the realms of tidy and untidy.
Garden implements need sturdy confinement if you want them to stay put. Fortunately, there are a few ways things you can fasten to your shed wall to keep them propped up out of the way.
Try these:
- An old shoe rack
- PVC pipes attached about three-feet apart
- A plank with slots cut into it
- A wooden pallet on its side
- Wooden blocks spaced apart at appropriate distances
If you have an overhand on the outside of your garden shed, you can even attach them to the exterior wall of your shed.
5. Safe Storage Ideas
Paint and pesticides can pose health risks in confined spaces. Always keep these items in their original packaging and store them out of sight in a closed container.
A top shelf is usually a good place for these containers, so they’re out of the reach of children, pets, and uninformed people.
It’s a good idea to replace some of your shed’s wooden slats with chicken wire for ventilation if you’re storing chemicals inside.
6. Shed Organization for Your Hobbies
If you use your shed for carpentry, potting plants, or other worthwhile pursuits, it’s a good idea to invest in a mobile workbench. These often have plenty of built-in storage options as well as a surface for working on.
It’s easy to wheel them out of the way when not in use, too.
7. Wind Up the Wires
Hoses and extension cords quickly become a tangled mess and always seem to end up curled all over your shed floor.
Attach an old bucket to the wall and roll your garden hose around it after every use. This keeps it easily accessible, and tangle-free.
Likewise, you can attach hooks or wooden pegs to the rafters of your shed for storing extension cords. Roll up these wires after use, secure them and hook them up out of the way.
8. Storing Larger Items
If you want to store larger garden implements like wheelbarrows and lawnmowers, it pays to build a shed that’s large enough to accommodate them.
You can secure your wheelbarrow with PVC pipes that slip over the handles attached to the wall at an appropriate height.
It’s not advisable to store a lawnmower vertically unless it’s designed that way. Rather wheel it into the center of your shed and place it outside when you’re busy inside.
Make It Count
Once you’ve tried out your new shed organization skills, you’ll get to enjoy effortless gardening or hobby activities without the stress.
Get into the habit of putting everything back in place according to your master plan, though. Otherwise, you’ll soon find yourself starting the arduous process of decluttering and re-organizing from scratch again.
Are you keen to discover some more ways to make your home life easier, and more enjoyable? Bookmark our blog and check back regularly for more advice on how to keep your home looking at its best.


