So you’ve finally decided to tackle one of the most formidable adversaries in your home–the shower. A commendable ambition to say the least.
Most people tend to let grime, mold, and mildew accumulate in this high traffic area, and of course, cleanliness takes a nosedive as a result.
And even those who do take the initiative of shower upkeep seldom do so efficiently.
The goal of this article is to fix that by providing practical shower cleaning tips to make your bathroom sparkle like new again.
1. Shower Cleaning Materials
There are plenty of tools on the going market that can make your shower spotless. However, you can achieve that same immaculate outcome with the basic cleaning supplies you most likely already have in your home.
In fact, many people are throwing out ruthless chemical products and opting for natural alternatives such as baking soda and vinegar as their cleaning solutions.
But the one thing to remember is that even though these alternatives are good for cleaning, they are not very effective when it comes to disinfecting.
That’s where having your bucket of soapy water and disinfectant materials (CRL, Borax, or Chlorox bleach are all good options) will come in handy–and of course, don’t forget a cloth and some scrubbers!
Once you have your supplies gathered, you can then begin to:
2. Prep the Area
Remove all products from the shower (shampoo, conditioner, soaps, etc). You want a clear space where you can easily gain access to all the nooks and crannies.
Grime, dirt, and scum build up the most in those forgotten corners you don’t usually think twice about.
Then wet the area, be sure to rinse the walls as well as the glass door if you have one (check out cut rate glass for more details).
After soaking everything down, apply your cleaning solution–whether you’re using the baking soda and vinegar method or another kind–take care to be thorough in your application of it.
One of the most unruly sights is a tub with blotches and blemishes leftover from a shoddy cleaning job.
After applying the solution, let it sit for 10 to 20 minutes so it can begin to break down all of the filth and grime.
3. Apply Some Elbow Grease
Now comes the “fun” part in the shower upkeep process. Pick your tool of choice, a soft-bristled brush, a cloth, a scrubber, a sponge, etc.
Bathroom cleaning begins with a nice scrub down of the area to remove all dirt, muck, and scum. Afterward, rinse the surface once again to clear any remnants.
Then apply the disinfectant to kill any germs and bacteria that were left behind. Let the disinfectant sit for 20 minutes, come back, and do a final rinse; washing away the rest of the grime and leaving your shower sparkling clean.
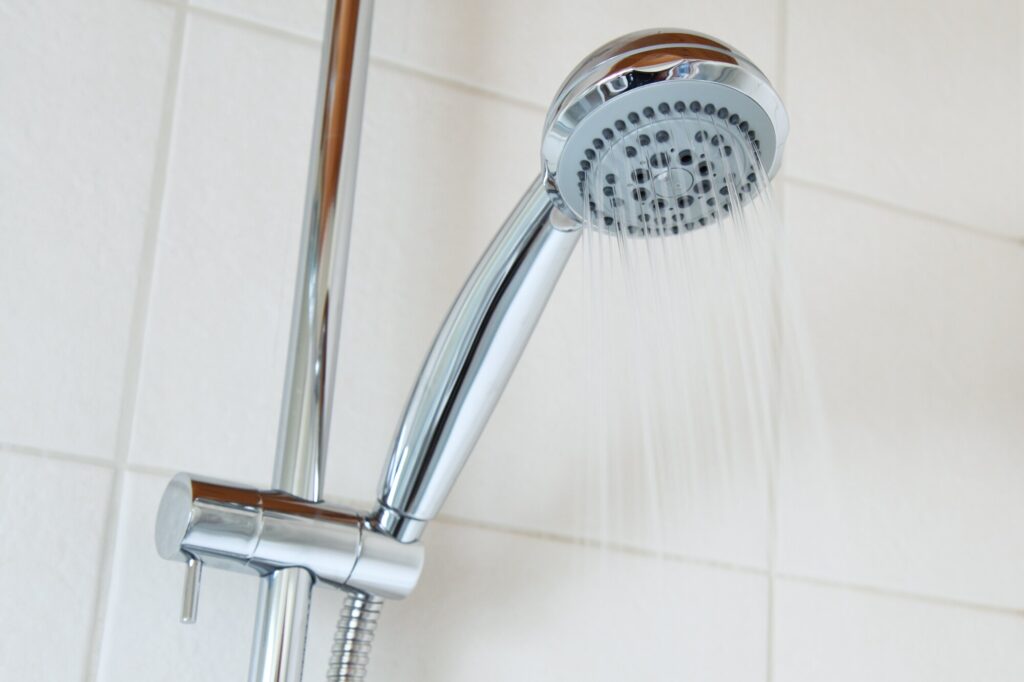
If you have a clogged showerhead, consider using a plastic bag filled with vinegar to break down the build-up of grime.
Fill a bag partly with white vinegar, fasten it around the showerhead with elastic bands, strings, a twist tie, etc.
Let sit for a few hours, remove the bag, dump the vinegar. Then let the shower run with hot water for a few minutes before cleaning off any leftover grime.
And if you have a clogged drain, consider using a wire hanger to clear out the unsavory residue.
It’s All in the Details
Shower cleaning efficiently revolves around having the right tools for the job and being scrupulous in your application of them. And in this article, you have learned about both of those aspects.
If you enjoyed this article, be sure to browse through some of our other ones to learn more.

