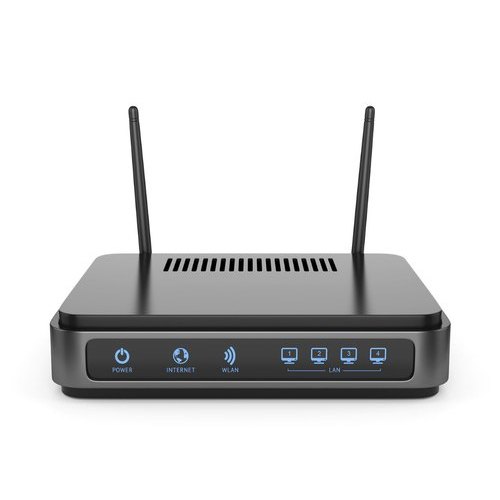

Setting up a NETGEAR Nighthawk router is usually straightforward. You can complete the NETGEAR Nighthawk setup using the Nighthawk mobile app or a web browser through routerlogin.net. For a new installation, the app is generally the easiest route because it walks you through the physical connections, WiFi configuration, and internet setup. NETGEAR’s current installation guidance supports both approaches.
Before you begin, have your modem, Nighthawk router, power adapter, Ethernet cable, and a phone or computer ready. If your internet provider requires special connection credentials, keep those available as well.
What You Need Before Starting
Put the Nighthawk router close to your modem during the initial setup. Once everything is working, you can move the router to a more suitable location.
Check the label on the router for the factory WiFi network name and network key. NETGEAR says these details are printed on the router label and can be used to connect your setup device during installation.
It is also worth checking whether your modem is already functioning correctly. If the modem has no internet connection, changing router settings will not solve the underlying problem.
Set Up Your NETGEAR Nighthawk Using the App
For compatible Nighthawk models, the Nighthawk App provides the simplest installation method.
1. Connect the Router to Your Modem
First, connect the modem’s Ethernet port to the Internet/WAN port on the Nighthawk router.
Then connect the router to its power adapter and switch it on if your model has a power switch.
NETGEAR’s current installation instructions follow this same basic sequence: connect the modem to the router’s Internet port, power the router on, and wait for the WiFi indicator to become available.
2. Connect Your Phone to the Router’s WiFi
On your Android phone or iPhone, open the WiFi settings.
Look for the SSID printed on the router label and connect using the network key shown there.
Do not accidentally connect to another nearby network while completing the initial setup.
3. Open the Nighthawk App
Install the official Nighthawk App on your mobile device and launch it.
NETGEAR currently recommends the Nighthawk App for compatible Nighthawk routers and says it provides setup and network-management functions from a smartphone or tablet.
Sign in with your NETGEAR account when prompted and follow the on-screen installation process. NETGEAR’s Nighthawk App setup and management guide also explains how the app can be used to install and manage compatible routers.
4. Complete the Internet Setup
The app will guide you through the remaining setup steps. Depending on your internet connection and router model, it may automatically detect the connection settings.
If everything is connected correctly, the router should establish an internet connection and complete the initial configuration.
NETGEAR also recommends power-cycling the modem when the app cannot establish the initial connection, then retrying the setup process.
Set Up Your Nighthawk Router Through a Web Browser
The app is convenient, but you can also configure compatible NETGEAR routers through the router’s web interface.
This method can be particularly useful when you are using a desktop computer or when the app is not working correctly.
1. Connect to the Router
Connect your computer or phone to the Nighthawk router using WiFi or, preferably during initial troubleshooting, an Ethernet cable.
NETGEAR’s current web-interface setup instructions support either connection method.
2. Open Routerlogin.net
Launch a browser and enter:
For supported routers, NETGEAR also documents routerlogin.com as an alternative address. If those addresses do not work, some models can be accessed through the router’s local IP address, such as 192.168.1.1.
Make sure the device you’re using is connected to the Nighthawk router’s network.
3. Follow the Setup Wizard
The router’s web interface will present the available setup process. Follow the instructions displayed on screen to configure the internet connection and complete the installation.
NETGEAR’s current web-interface procedure says the router detects the internet settings and then guides you through the remaining installation steps.
Choose a New WiFi Name and Password
After the router is online, personalize your wireless network.
A strong setup uses a unique WiFi password rather than leaving easily recognizable credentials in place. NETGEAR provides controls through both its web interface and compatible Nighthawk App for changing the SSID and WiFi password.
Remember that your WiFi password and router administrator password are not the same thing. The WiFi password is used by phones, computers, TVs, and other devices to join the network, while the administrator credentials control access to the router’s configuration interface.
After changing the WiFi name or password, devices that were connected to the old network may need to reconnect using the new credentials.
Update the Router After Setup
Once the Nighthawk router is online, check for available firmware updates.
Router firmware can affect security, compatibility, stability, and available features. The Nighthawk App provides access to router management functions, including system updates on supported devices.
You can also manage firmware and other router settings through the web interface.
Do not interrupt the router while a firmware update is being installed.
What If Your Nighthawk Router Uses Another Router?
Some homes already have a router built into their modem or gateway device. In that situation, simply adding another router can create a more complicated network configuration.
Depending on your setup, you may want the Nighthawk to operate as the primary router or as an Access Point.
NETGEAR documents an Access Point mode for supported Nighthawk models. During setup, the router can detect an existing network and, on applicable devices, offer the choice between router mode and Access Point mode.
The right choice depends on which device you want to handle routing, DHCP, and other network-management functions. If the existing gateway is already acting as a router, Access Point mode can be appropriate for extending wireless coverage without creating a second routing layer.
Common NETGEAR Nighthawk Setup Problems
Routerlogin.net Does Not Open
First, make sure your phone or computer is connected to the Nighthawk router rather than mobile data or another WiFi network.
Then try routerlogin.net again. NETGEAR also lists routerlogin.com and, for some routers, 192.168.1.1 as alternate access methods.
If the page still does not load, restarting the router and checking the device’s network connection can help. NETGEAR also recommends browser troubleshooting when routerlogin.net or routerlogin.com produces access errors.
The Nighthawk App Cannot Find the Router
Confirm that your phone is connected to the Nighthawk router’s WiFi network.
If the router was already connected to the modem, NETGEAR recommends disconnecting the router, rebooting the modem, reconnecting the modem to the router’s Internet port, and then trying the app installation again when setup problems persist.
There Is No Internet After Setup
Check the Ethernet connection between the modem and router first.
Then confirm that the modem itself has internet access. If your internet provider requires a username, password, or other connection-specific information, the router may need those settings before it can establish the connection.
A Simple NETGEAR Nighthawk Setup Checklist
For most standard installations, the process is:
- Connect the modem to the router’s Internet port.
- Power on the Nighthawk router.
- Wait for the WiFi LED to become available.
- Connect your phone or computer to the router’s labeled WiFi network.
- Open the Nighthawk App or routerlogin.net.
- Follow the setup instructions.
- Create your preferred WiFi name and password.
- Confirm that internet access works.
- Check for firmware updates.
- Move the router to its final location once setup is complete.
Final Thoughts
The easiest way to complete a NETGEAR Nighthawk setup is usually through the Nighthawk App. It provides a guided process that covers the physical installation and basic configuration. If the app does not work or you prefer using a computer, NETGEAR’s web interface through routerlogin.net provides another supported setup method.
The key is to get the physical connection right first, connect your setup device to the Nighthawk network, and then configure the router rather than changing advanced settings unnecessarily.
Once the router is online, personalize your WiFi credentials, install applicable firmware updates, and check whether your home network requires router mode or Access Point mode. That gives you a cleaner foundation for reliable WiFi and makes future troubleshooting much easier.