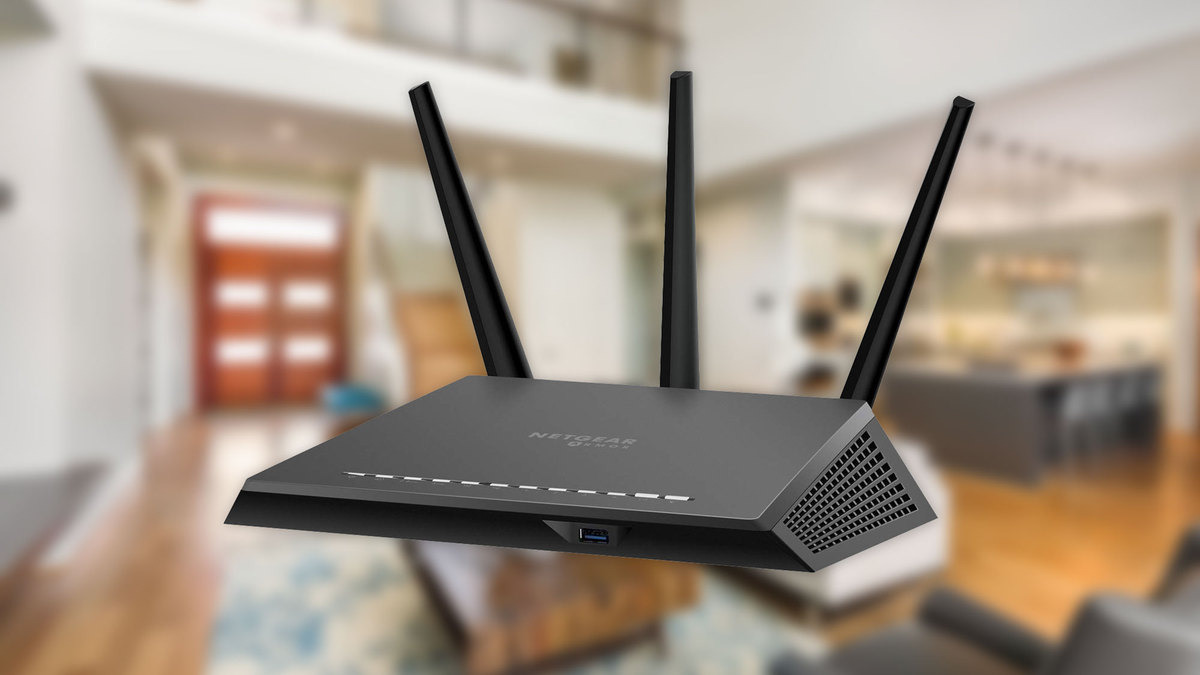
Seeing a red light on your NETGEAR WiFi extender usually means the connection between the extender and your router is poor. On many NETGEAR models, a solid red Router Link or Link Status LED specifically indicates a poor connection, while the exact LED behavior can vary by model. NETGEAR’s current documentation confirms that red commonly indicates poor signal quality between the extender and router.
The good news is that a red light does not necessarily mean your extender is damaged. In many cases, the problem comes down to placement, distance, interference, an incorrect setup, or outdated firmware.
Here is a practical troubleshooting path to fix the NETGEAR extender red light without immediately resetting the device.
What Does the Red Light on a NETGEAR Extender Mean?
First, identify which LED is red.
On several NETGEAR range extenders, the Router Link LED indicates the wireless connection between the extender and your main router. Green generally represents the best connection, amber indicates a weaker but usable connection, and red indicates a poor connection. Some models use white, blue, or other LED colors, so the exact meaning depends on the extender model.
If the Router or Link Status LED is red while the extender otherwise appears to be operating, the first thing to investigate is the wireless connection between the two devices.
NETGEAR’s LED status guidance for compatible extenders explains how different indicator colors can represent router and client connection status.
1. Move the Extender Closer to the Router
This is the first fix to try because extender placement has a direct effect on the connection quality.
NETGEAR recommends positioning a range extender roughly halfway between the router and the area where you need better WiFi coverage. The extender still needs to be within the router’s usable wireless range.
A common mistake is placing the extender directly inside the weak-signal area. That can leave the extender with a poor connection to the router, so it has little useful bandwidth to repeat.
Try this instead:
- Unplug the extender.
- Move it closer to your router.
- Power it back on.
- Wait for the LEDs to stabilize.
- Check whether the Router Link LED changes from red to amber or green.
If the light improves after moving the extender, the problem was most likely signal strength or placement rather than hardware failure.
2. Avoid Walls and Sources of Interference
Distance is not the only factor affecting WiFi.
Thick walls, floors, metal objects, appliances, and other electronic devices can interfere with wireless communication. An extender placed behind a large appliance or inside a cabinet may perform noticeably worse than one positioned in an open location.
Place the extender somewhere elevated and unobstructed when practical. Avoid hiding it behind furniture simply to make the installation look cleaner.
The aim is to give the extender a strong, stable wireless path to the router.
3. Restart the Router and Extender
Temporary connection problems can sometimes leave an extender showing a poor or failed link even when the underlying WiFi network is working normally.
NETGEAR includes power cycling among its general extender troubleshooting recommendations.
A simple restart sequence is:
- Turn off or unplug the router.
- Wait for the router to shut down completely.
- Power the router back on.
- Wait until its WiFi connection is available.
- Restart the NETGEAR extender.
- Check the Router Link LED again.
This does not change your extender configuration, so it is a good low-risk troubleshooting step before attempting a reset.
4. Reconnect the Extender to Your WiFi Network
If the red light remains after changing the location, the extender may not be maintaining a reliable connection with the router.
In that situation, reconnecting the extender to your home WiFi network can help.
NETGEAR’s current setup process allows you to configure the extender through the Nighthawk app, while compatible models can also be configured through the extender’s web interface. During setup, you select the router’s WiFi network and enter the router password.
Before starting, make sure you know the correct WiFi name and password for the router.
If you use a dual-band router, pay attention to both the 2.4 GHz and 5 GHz network names during setup. Depending on the extender model, one band may provide better range while the other may provide higher throughput.
5. Check the Extender’s Login and Settings
If you need to inspect the extender’s configuration, connect your phone or computer to the extender’s WiFi network and access its management interface.
For many compatible NETGEAR extenders, the web-based setup and administration address is mywifiext.net. NETGEAR’s firmware documentation specifically directs users to this address for supported manual firmware updates.
Once logged in, review the connection status and wireless settings.
Do not change advanced settings randomly. A wrong wireless mode, network selection, or password can create a new connectivity problem while trying to fix the original one.
6. Update the Extender Firmware
Outdated firmware can cause compatibility and reliability problems, and NETGEAR regularly releases firmware updates intended to improve product performance, add features, and enhance security.
To check for a firmware update on many NETGEAR extenders:
- Connect your device to the extender’s network.
- Log in to the extender.
- Open Settings > Firmware Update.
- On some models, the option may instead appear under Maintenance > Firmware Upgrade.
- Select Check Online or Check.
- Install the update if one is available.
The exact menu names vary by model. NETGEAR also supports firmware updates through the Nighthawk app on compatible extenders.
Avoid disconnecting power while firmware is being installed. An interrupted firmware update can create a much more serious problem than a weak WiFi signal.
7. Reset the Extender and Set It Up Again
A factory reset is worth trying when the extender continues to show a red connection light after you have verified the location, router connection, WiFi credentials, and firmware.
Resetting clears the current configuration, so it should not be your first troubleshooting step.
Before resetting, make sure you have:
- Your router’s WiFi name
- Your router’s WiFi password
- Your extender’s administrator credentials if applicable
- Access to the Nighthawk app or web-based setup process
After the reset, configure the extender again and initially place it close enough to the router to establish a strong connection. Once the connection is stable, move the extender toward its intended location.
Red Light Still Appears? Check Which Connection Is Weak
A useful troubleshooting distinction is whether the red light belongs to the router connection or the client/device connection.
Some NETGEAR models have separate LEDs for the router link and the client link. The router-side LED tells you how well the extender communicates with the main router, while another LED may indicate the connection between the extender and your phone, computer, or other device. NETGEAR’s model-specific LED documentation shows that these indicators can have different meanings.
That means moving the extender may be the right solution for one red LED but not another.
If the router link is good but your device connection remains poor, the issue may be related to the device’s distance from the extender, the selected WiFi band, interference, or the device itself.
When a Red Light May Indicate a Bigger Problem
If the extender continues showing a red light even when it is positioned very close to the router, correctly configured, updated, and reset, the problem may require deeper troubleshooting.
At that point, check whether:
- The router itself has a stable internet connection.
- Other devices can connect normally to the router.
- The extender is using the correct router credentials.
- The extender’s firmware is current.
- The extender works after a factory reset.
- The problem occurs consistently rather than only at a particular location.
NETGEAR maintains a dedicated WiFi range extender troubleshooting resource that brings together model-specific troubleshooting, setup information, firmware resources, and additional support options.
Final Thoughts
A NETGEAR extender red light usually points first to a weak wireless connection between the extender and router, not an immediately failed device. Start with the simplest fix: move the extender closer to the router and place it somewhere with fewer physical obstructions.
If that does not work, restart both devices, reconnect the extender to the correct WiFi network, review its configuration, and check for a firmware update. A factory reset should come later, after the easier options have been exhausted.
Most importantly, check the specific LED and model documentation before assuming what the color means. NETGEAR uses different LED systems across its extender families, so the exact meaning of a red indicator can vary by model.